
When was the last time you stopped to admire a tree? Trees play an instrumental role in maintaining healthy ecosystems and, in addition to the many environmental benefits trees offer, the addition of a tree on a property can significantly boost the aesthetics and become a true sight to behold.
We tend to forgo planting trees for the
more instant gratification of planting flowers, shrubs, or plants. Depending on the type of tree and
climate, it can take dozens of years for a tree to fully mature, and usually
when we’re beautifying our property, we like to see the results as soon as
possible. But planting a tree can be a great way to celebrate Arbor Day, mark a
milestone in your life, memorialize a loved one, or simply promote a healthy environment starting right in your
backyard. Continue reading to learn the steps to properly plant a tree!
How to Plant a Tree
Just as a tree takes some time to grow
and mature, you should take the time to do some research about what kind of
tree you are going to plant and the conditions it needs to survive and thrive.
Plan ahead and envision a future with
your tree fully grown in your desired location. Consider the location of your home, your driveway, nearby sidewalks, and
power lines when making this decision, and remember that depending on the
location of your tree, it could present a hazard in the future. Once you’ve decided on a
location, you can get started on planting.
1. Plant Your Tree During the
Right Seasons: The best time to plant a tree is during
dormant seasons, after the leaves have fallen in the fall and before the buds have broken in the spring. During these cool temperatures, a tree
has the best chance to establish its roots before rain, warmer weather, and
sunlight stimulate growth. Spring can be a good time to plant a tree because
nurseries tend to be stocked up and the mild weather can be conducive to
promoting growth. Be wary of any heavy rainstorms or frosts immediately after
planting your tree as these conditions can be harmful.
2. Dig a Hole of Optimal Depth: Perhaps the most important step in ensuring your tree will take root
and grow is planting it at an optimal depth. This means your tree is neither
too deep nor too shallow in the soil, allowing the tree to have access to just
the right amount of water. To plant your tree at an optimal depth, measure the
distance from the bottom of the root ball (the ball of roots at the bottom of
your tree) to the middle of the trunk flare (where the base of the trunk
expands). Aim to bury the entirety of the root ball and part of the trunk flare
into the hole, but without going too deep. The majority of a tree’s roots take
hold in the first 12 inches of soil. The ground that the root ball rests on in
the hole should be undisturbed—avoid loosening the soil at the bottom of your
hole to prevent your tree from sinking or maintaining air pockets. The hole
should be about two to three times as wide as your root ball.
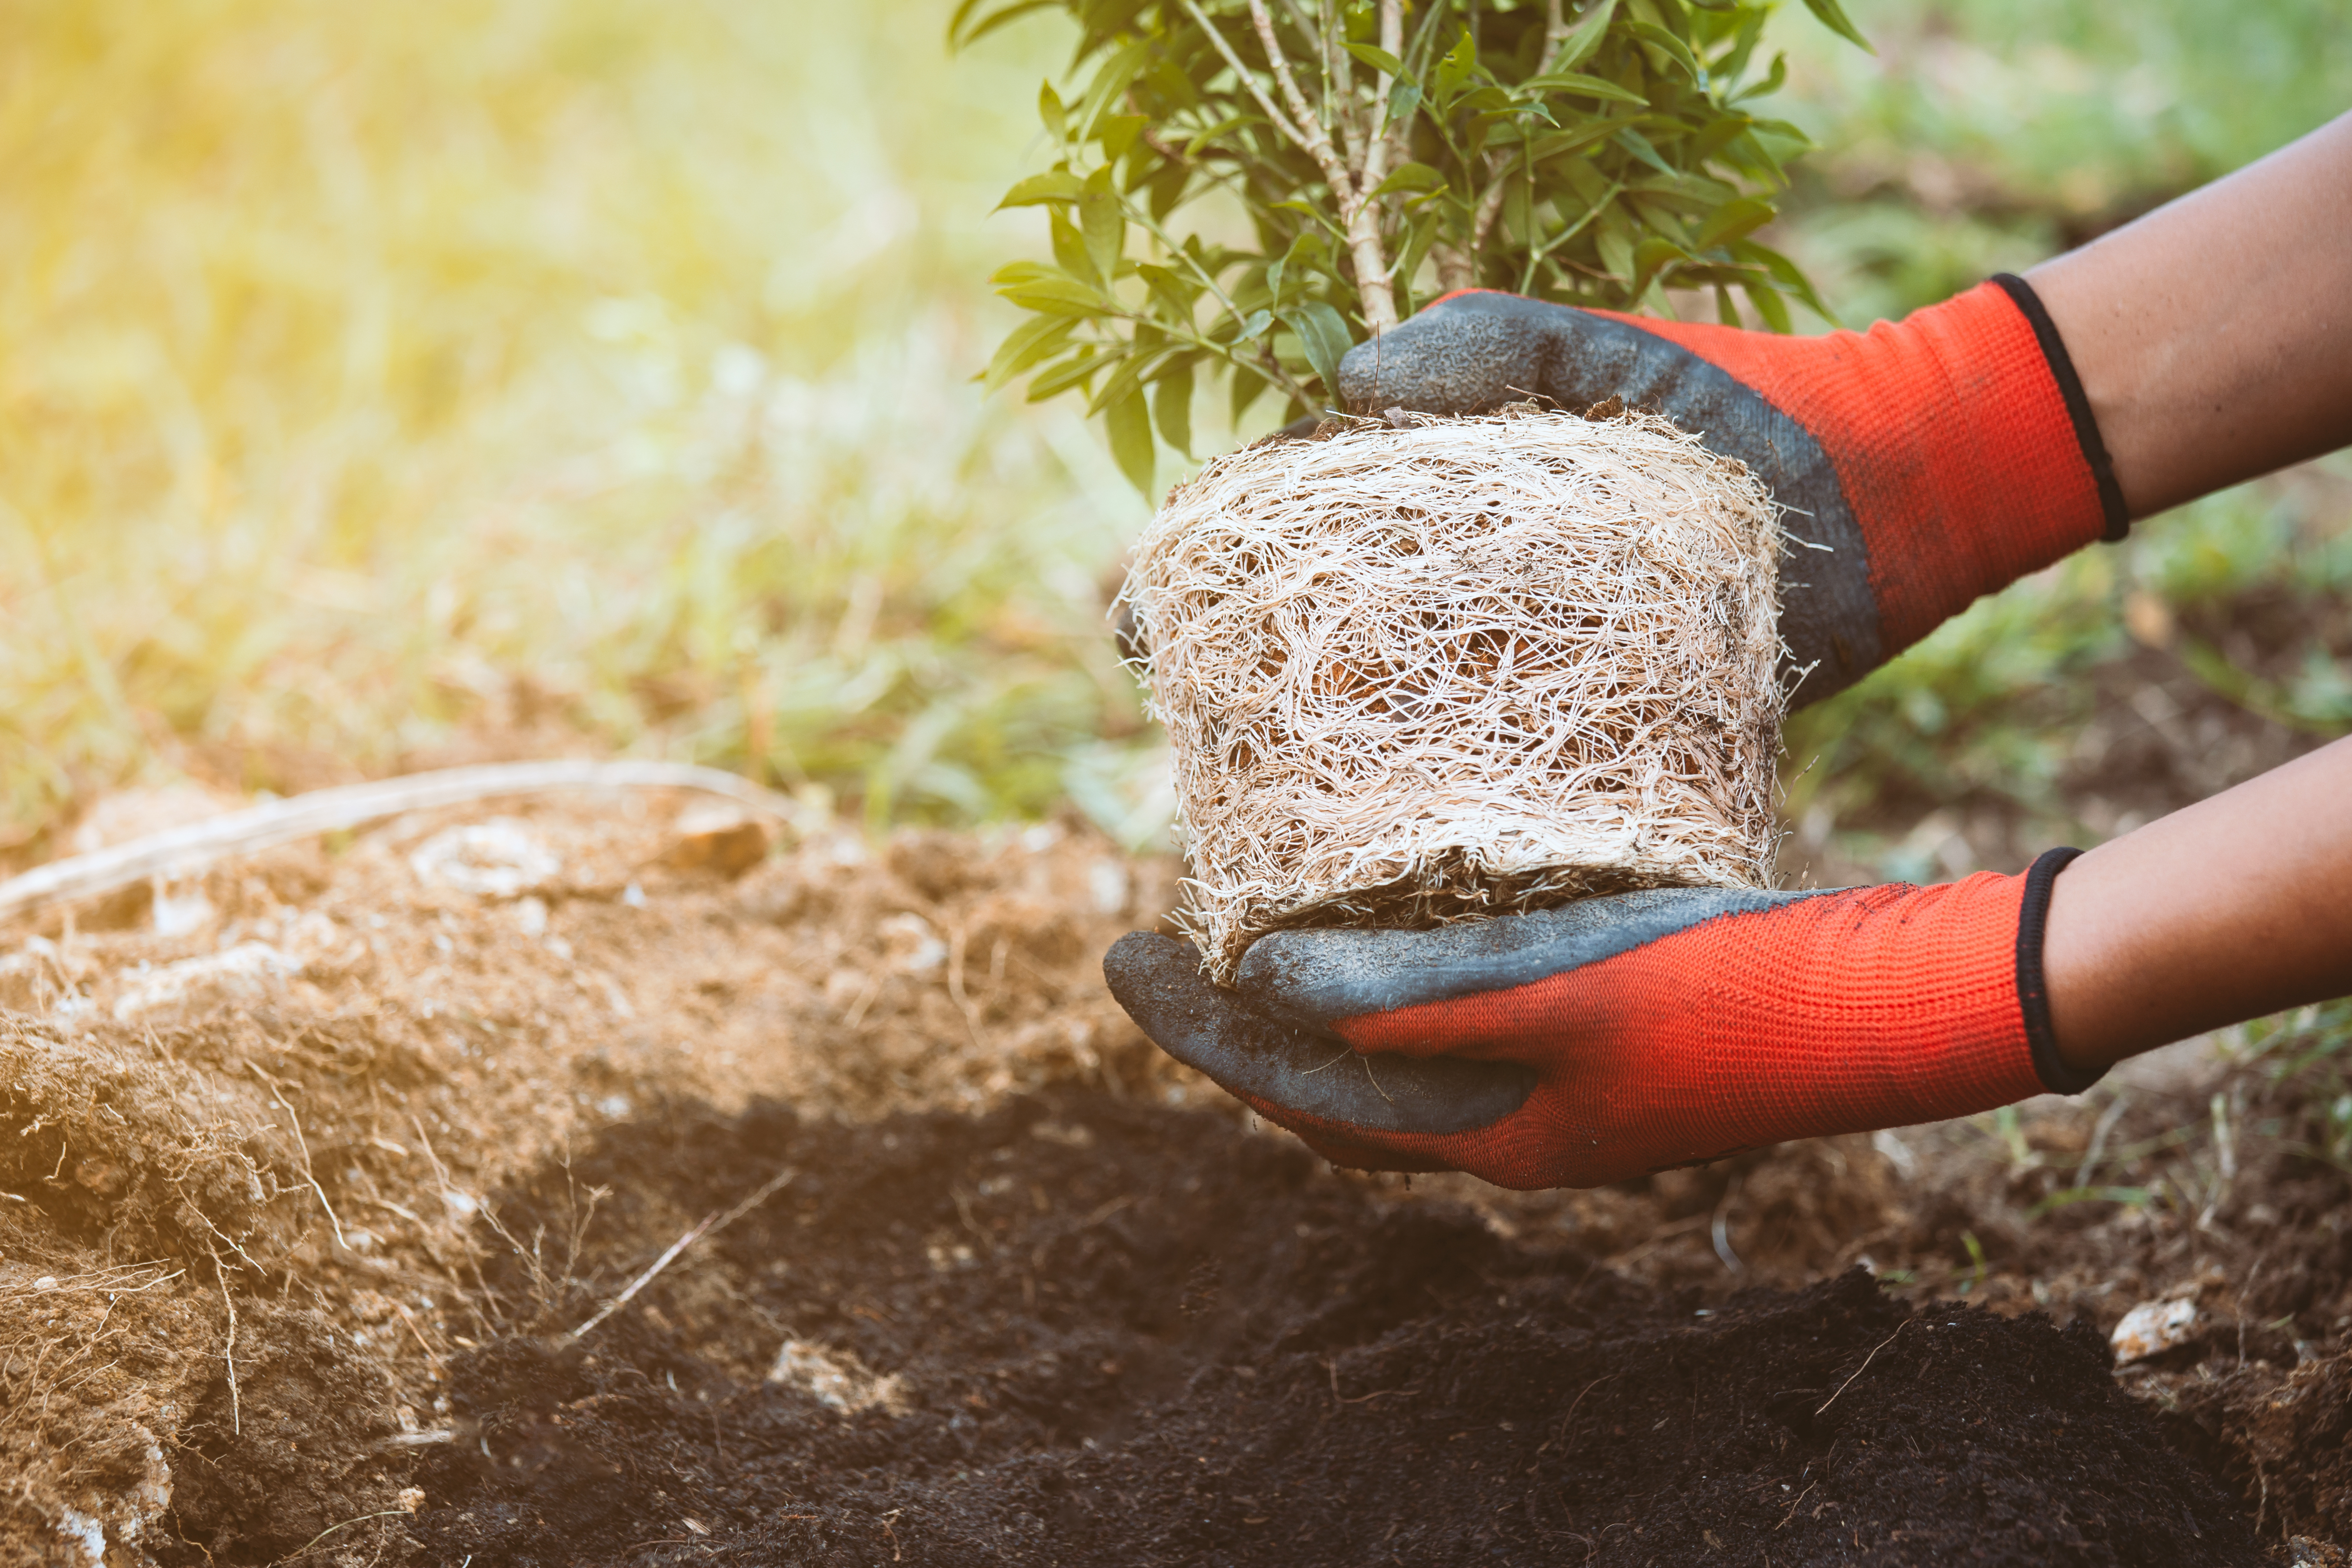
3. Place and Position Your Tree
in the Hole: When handling your tree, carry it by the
root ball to avoid damaging the trunk. If your tree is in a container, remove
it before gently placing your tree in the hole. Carefully position your tree
and, if possible, have someone view it from multiple angles to ensure it’s
standing straight before you begin to backfill the dirt. It’s important to note
that if it’s not standing straight it can lead to problems in the future.
4. Backfill the Dirt Around Your
Tree: Once your tree is planted at an optimal depth
and is standing up straight, you can start to fill in the dirt to plant your
tree. During this step, the most important thing to focus on is ensuring there
are no air pockets left in the soil around your tree. Air pockets in the soil
can quickly kill a tree so, to give it the best chance to survive, try to
backfill the dirt a little bit at a time in a gentle but firm fashion. You
should fill the hole with dirt until it is partially covering the trunk flare.
5. Water Your Tree: As soon as your tree is planted in the ground, you can go ahead and
start watering it. Doing this immediately after planting your tree will help
settle the soil and ideally, help the tree start to take root in the ground.
Continue watering your tree at least weekly, keeping the soil moist. If the
weather is exceptionally rainy or hot, you may need to adjust your
watering habits to best service your tree. Pro-tip:
If you’re planning on creating a mulch bed around the base of your tree, leave
about two inches of breathing room around the trunk’s base to prevent the mulch
from poisoning or decaying your tree.
Trees and Home Insurance
In addition to benefiting the environment
by improving air quality, producing oxygen, and collecting
rainwater to prevent some flash floods, adding a tree can enhance your
property’s value but finding the right place for your tree is key in avoiding
costly and destructive incidents down the line. Remember that trees near your
home and property have the potential to cause real damage in the event of high
winds and lightning storms.
Make sure you monitor the trees on your
property and look for any signs of decay, as these trees can pose a hazard.
Remove dead or partially attached branches and consider removing trees with
hollow or decayed areas on the trunk or main limbs, as well as trees with mold
or mushrooms growing indicating a decaying or weakened structure.
While it may feel sad to remove a tree
that has been on a property for generations, doing so can improve your safety
and save you money in the future. It can also be an opportunity to start fresh
and plant new trees on your property!


.jpg)


